Cut Flower Transplanting Guide
- March 6, 2023
Transplanting annual flowers
Annual flowers are a snap to transplant! When the weather no longer falls below freezing at night, it is time to start nestling your new baby seedlings into their new homes. The best time of day to transplant is early, before it gets hot. Once your garden hole or pot is ready, take the little plants out of the cell pack, loosen the roots gently and place them in their new home. I recommend placing a small amount of compost in the bottom of each hole as well. This will support the health of the plant throughout the season. Firm the soil around the plants and then water gently using the “shower” or “flower” setting on a water nozzle, Although annual flowers only last one season, you’ll be able to enjoy their beauty soon after they are transplanted.
General Steps for Transplanting
- Remove the plant from its pot.
- Inspect the roots. If roots completely cover the soil, tease them gently apart. If they are concentrated too heavily at the bottom of the pot, loosen them thoroughly.
- Place the plant in a prepared hole with some compost. The very bottom of the plant’s stem can sit just below the soil line. At least 80 percent of the stem should NOT be covered with dirt.
- Firm the soil around the plant with your hands. To encourage the roots to settle in.
- Water well. Watering will encourage the plant’s roots to grow into the soil. It also helps the plant settle firmly into its spot. Don’t let the soil get too dry on hot days, otherwise you will see your flowers’ leaves drooping and it’s health declining.
Tags
Related Articles
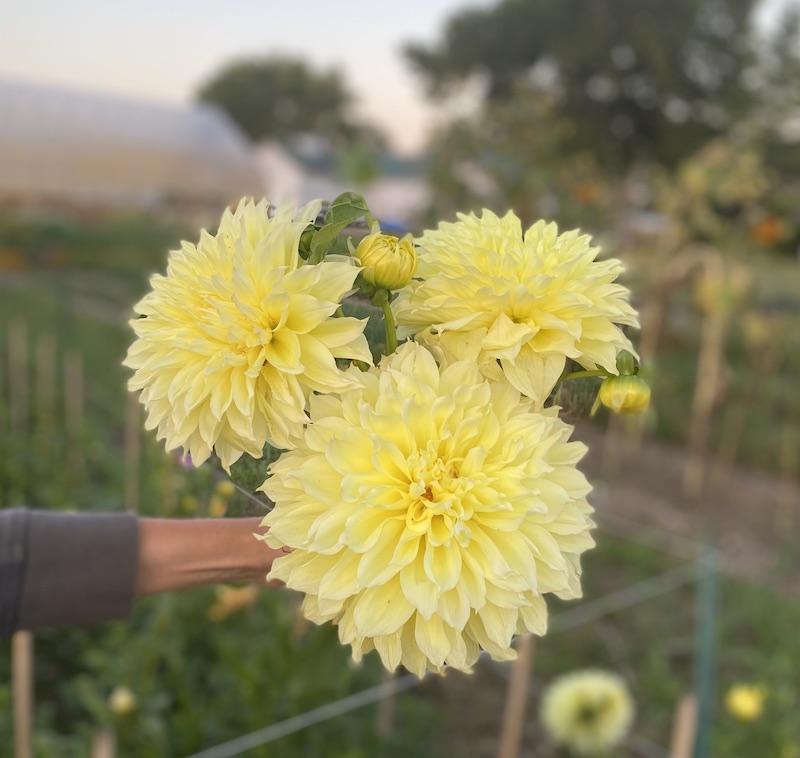
How to Grow Dahlia Tubers
How to take care of your dahlia tubers BEFORE planting Keep tubers in a place that is between 40-50 degrees with about 80-90% humidity before
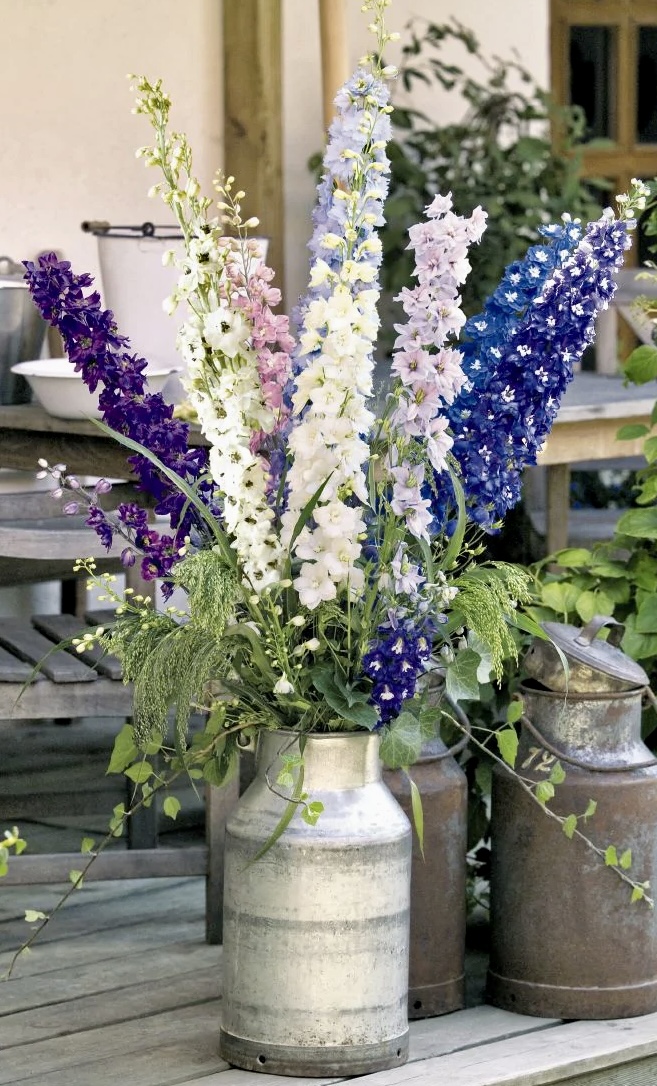
Delphinium
Life Cycle Perennial, sometimes treated as biennial in warm climates. Zone 5 Treatment Can plant 4-6 weeks before last frost for a first year bloom,
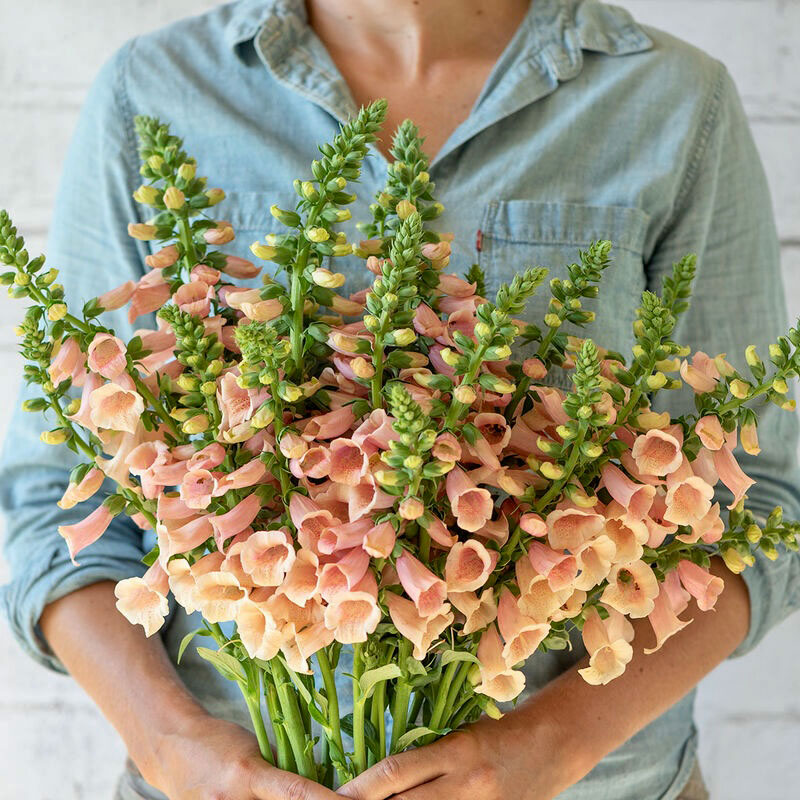
Foxglove
Life Cycle Perennial, sometimes treated as biennial in warm climates. Zone 5 Treatment Can plant 4-6 weeks before last frost for a first year bloom,


